Straight from my bucket list – I’m teaching myself to sew. Which means I’m a total hack and anyone with any bit of experience will take one look at my projects and be like:

But for those of you who are like me and look at some stuff on Etsy like maybe – just maybe – you could do that, then this post is for you. Here’s how I fumble my way through a very simple (but OMG SO CUTE) baby skirt tutorial.
I found these helpful step-by-step instructions for sewing a baby skirt on Pinterest. I mostly follow her instructions, but have made small modifications here & there. For example: I like the wider, poofier look to the skirt so I cut the fabric wider and the elastic smaller for the waist. For more professional instructions, definitely go check out her site.
Here’s what you need for a 3-6 month sized skirt:
– 1/2 yard of fabric (I love the selection at Pink Castle Fabrics)
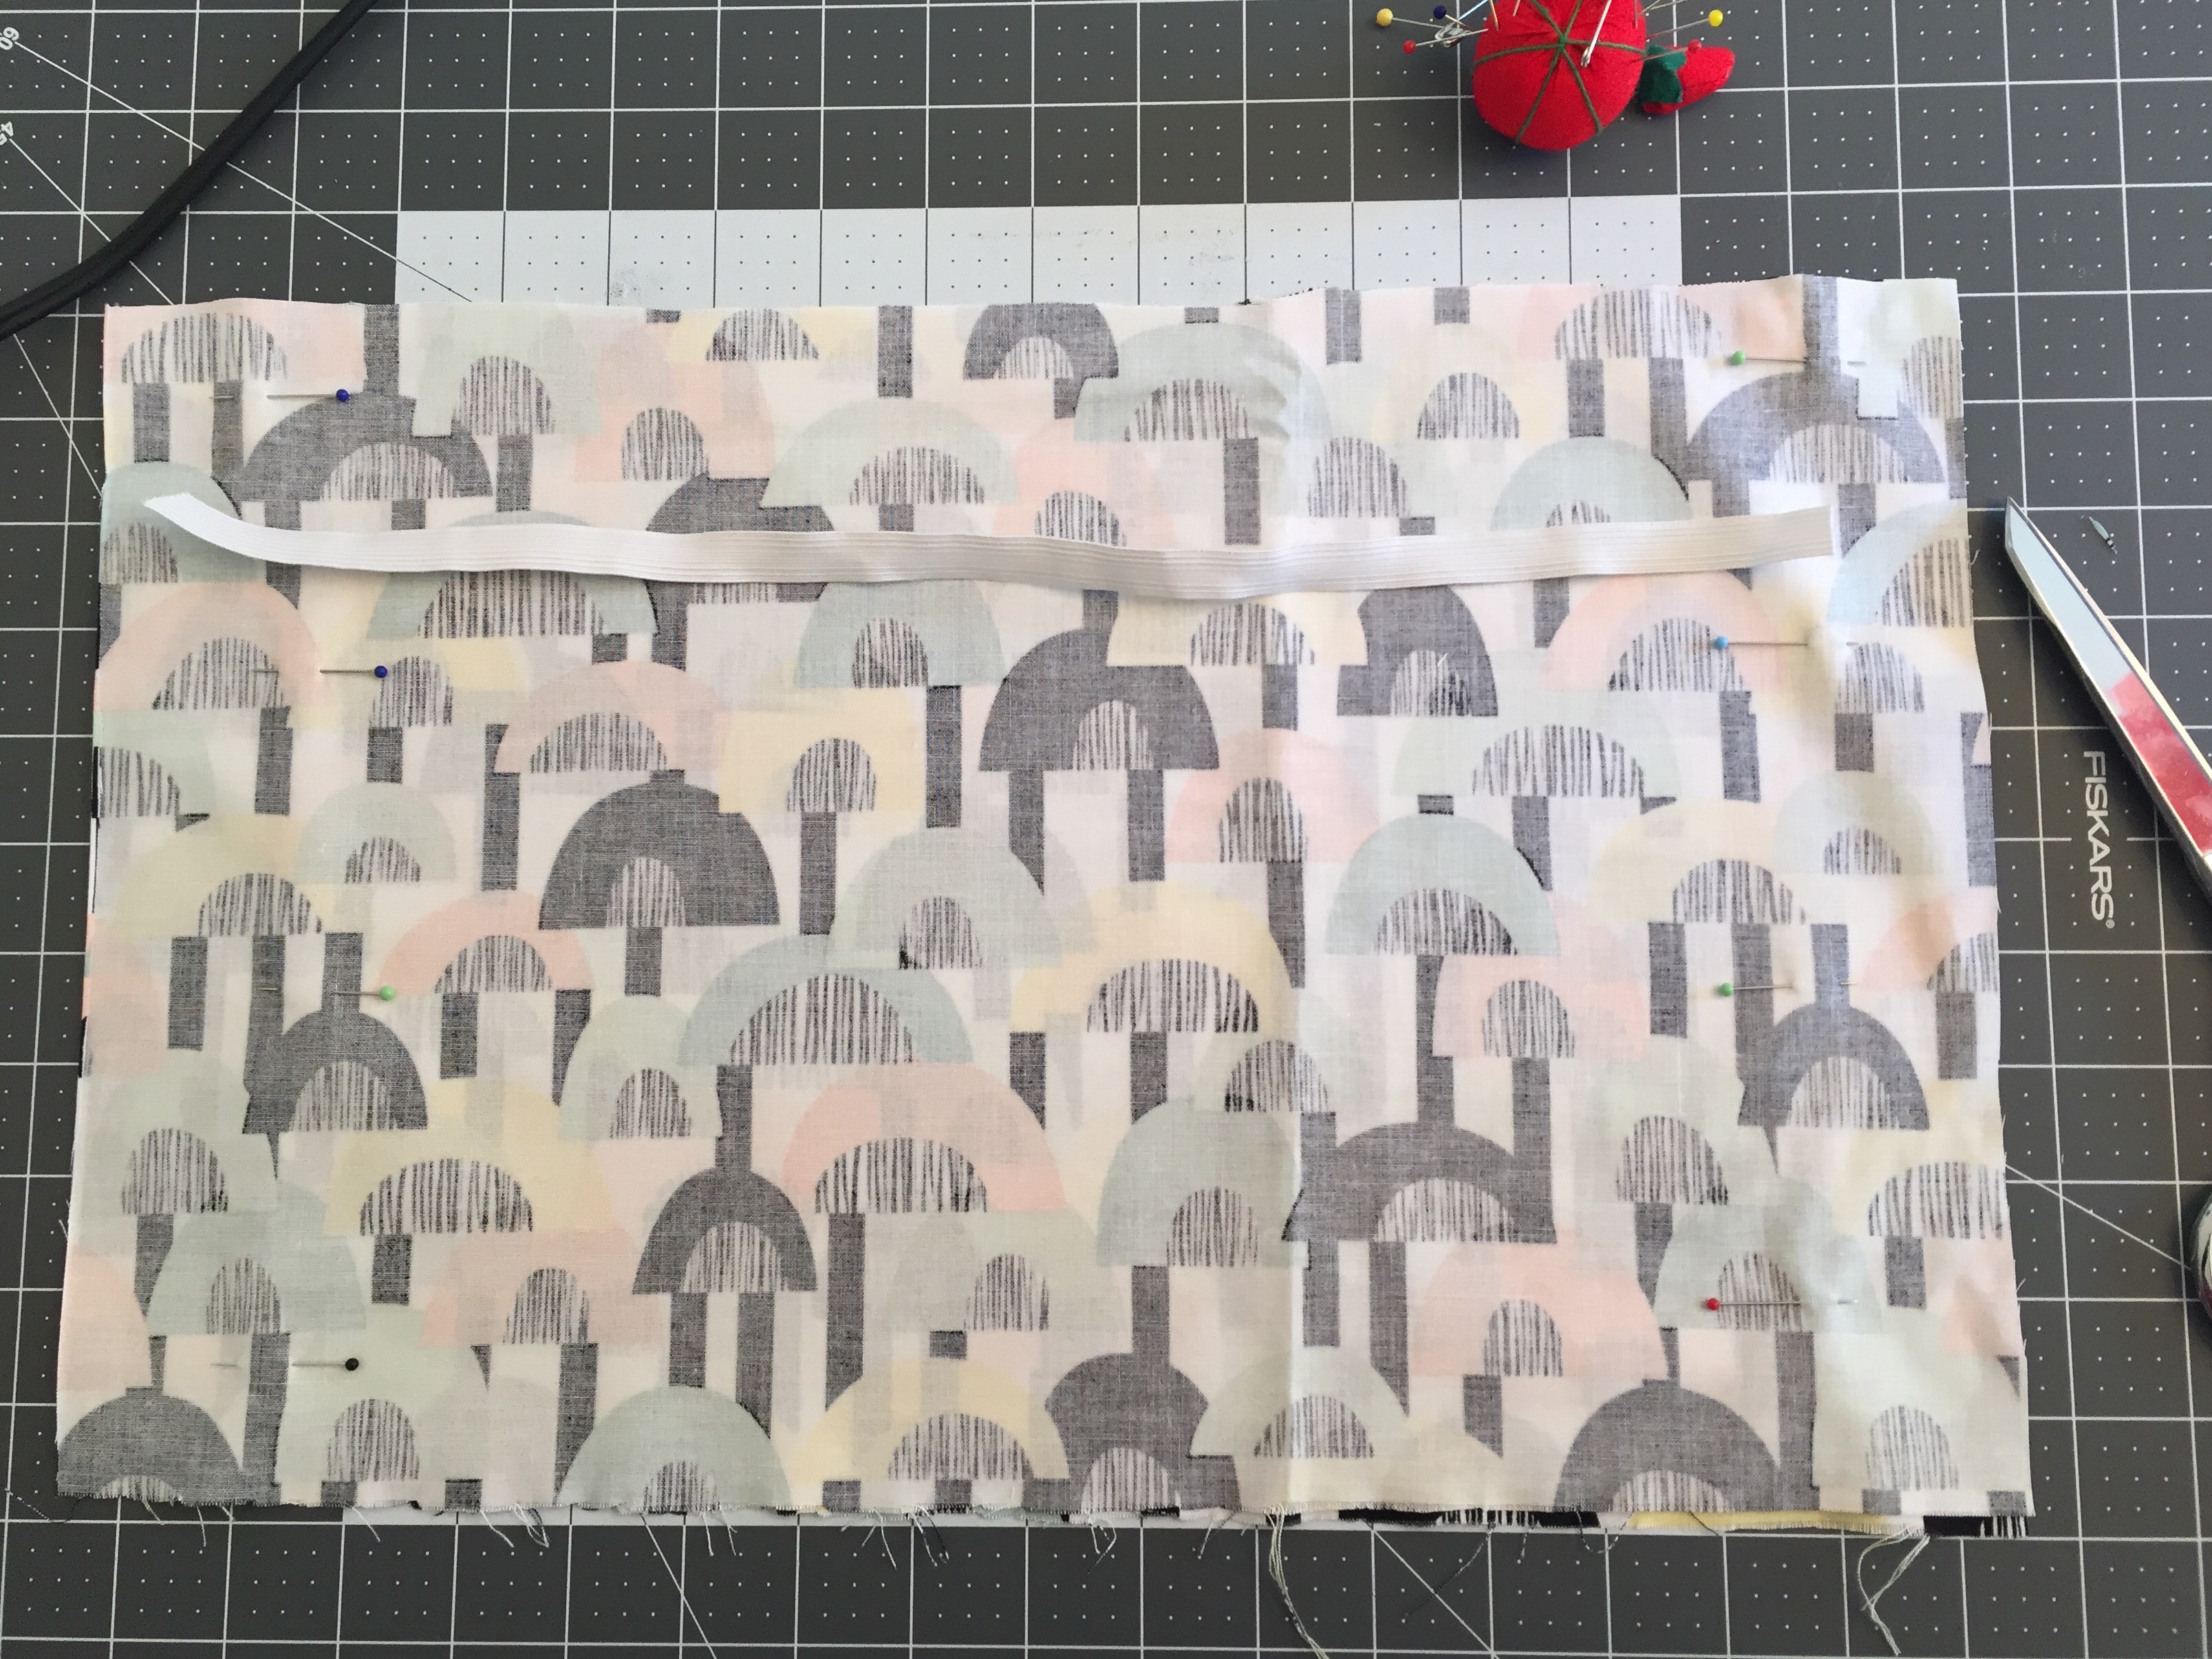
– 1-inch elastic cut 15 inches long (your size may vary)
– Safety pin
– Sewing machine and thread of your choice
Here’s how I made these:
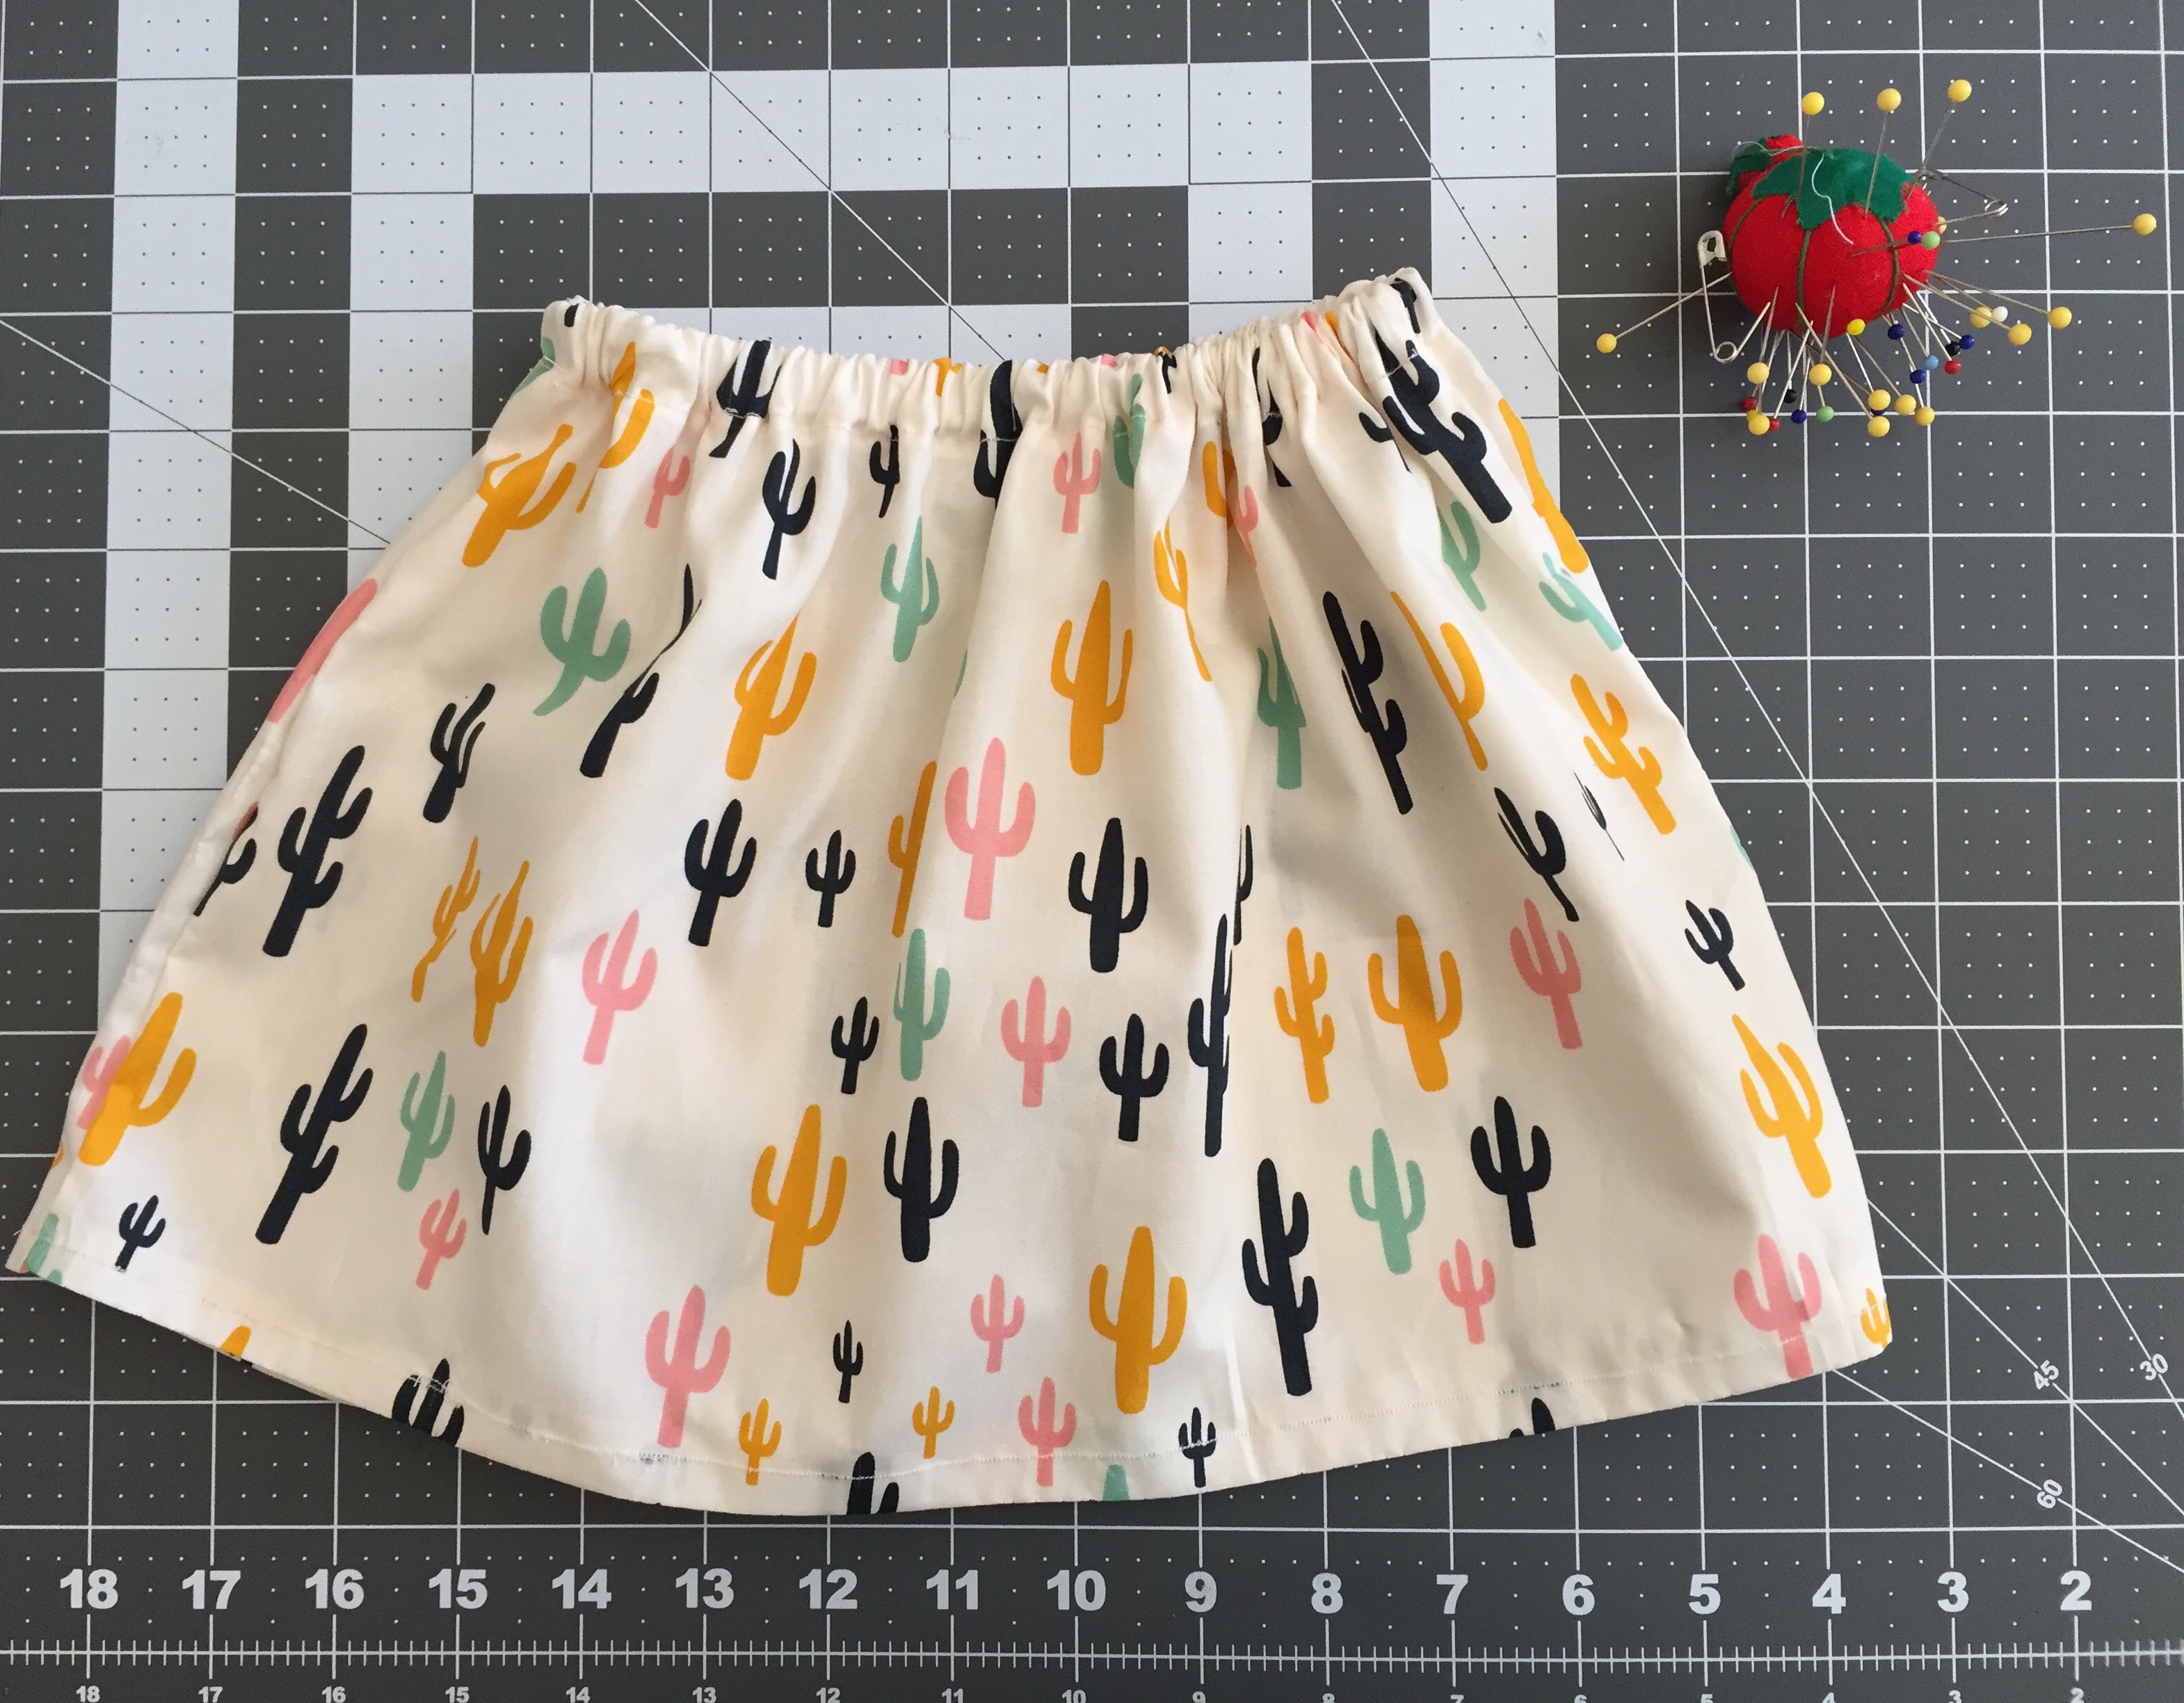
Fabric dimensions —> 17 inches wide x 11 inches long
Since there was no cut-out pattern for this tutorial, I measured the waist of another piece of baby clothing that was the size I wanted. Most of these are sized 3-6 months, based off a pair of 3-6 month shorts I already had. I measured across the shorts (8 inches), doubled that number (16 inches) and added an inch (17 inches) for the seams.
For the length of the skirt, I also measured against the pair of shorts (8 inches) so I didn’t make the skirts too short. I added 3 inches onto that length (11 inches) so that I had extra material for both the waist and the hem.
Note: If this is your first time sewing or you’re still getting the hang of it, you can add two inches for seams just to give yourself a little more room. You can always trim later.

Step 1: Cut two of these 17×11 inch (or whichever size you went with) pieces of fabric.
For the waist, I measured & cut a 15 inch piece of elastic and set aside. I used 1-inch elastic but you can definitely use wider elastic for a more significant looking waistband – just be sure to add another inch or so onto the length of your skirt.
Sewing steps
After you’ve cut your fabric to the dimensions you want, lay them on top of each other, right sides facing in toward each other. Note: if you have fabric that’s meant for one direction versus another, make sure your sides are both pointing in the right direction.
Step 2: Iron your fabric

Step 3: Sew left sides together, creating a seam approximately a 1/4 inch in
Step 4: Sew right sides together, creating a seam approximately a 1/4 inch in
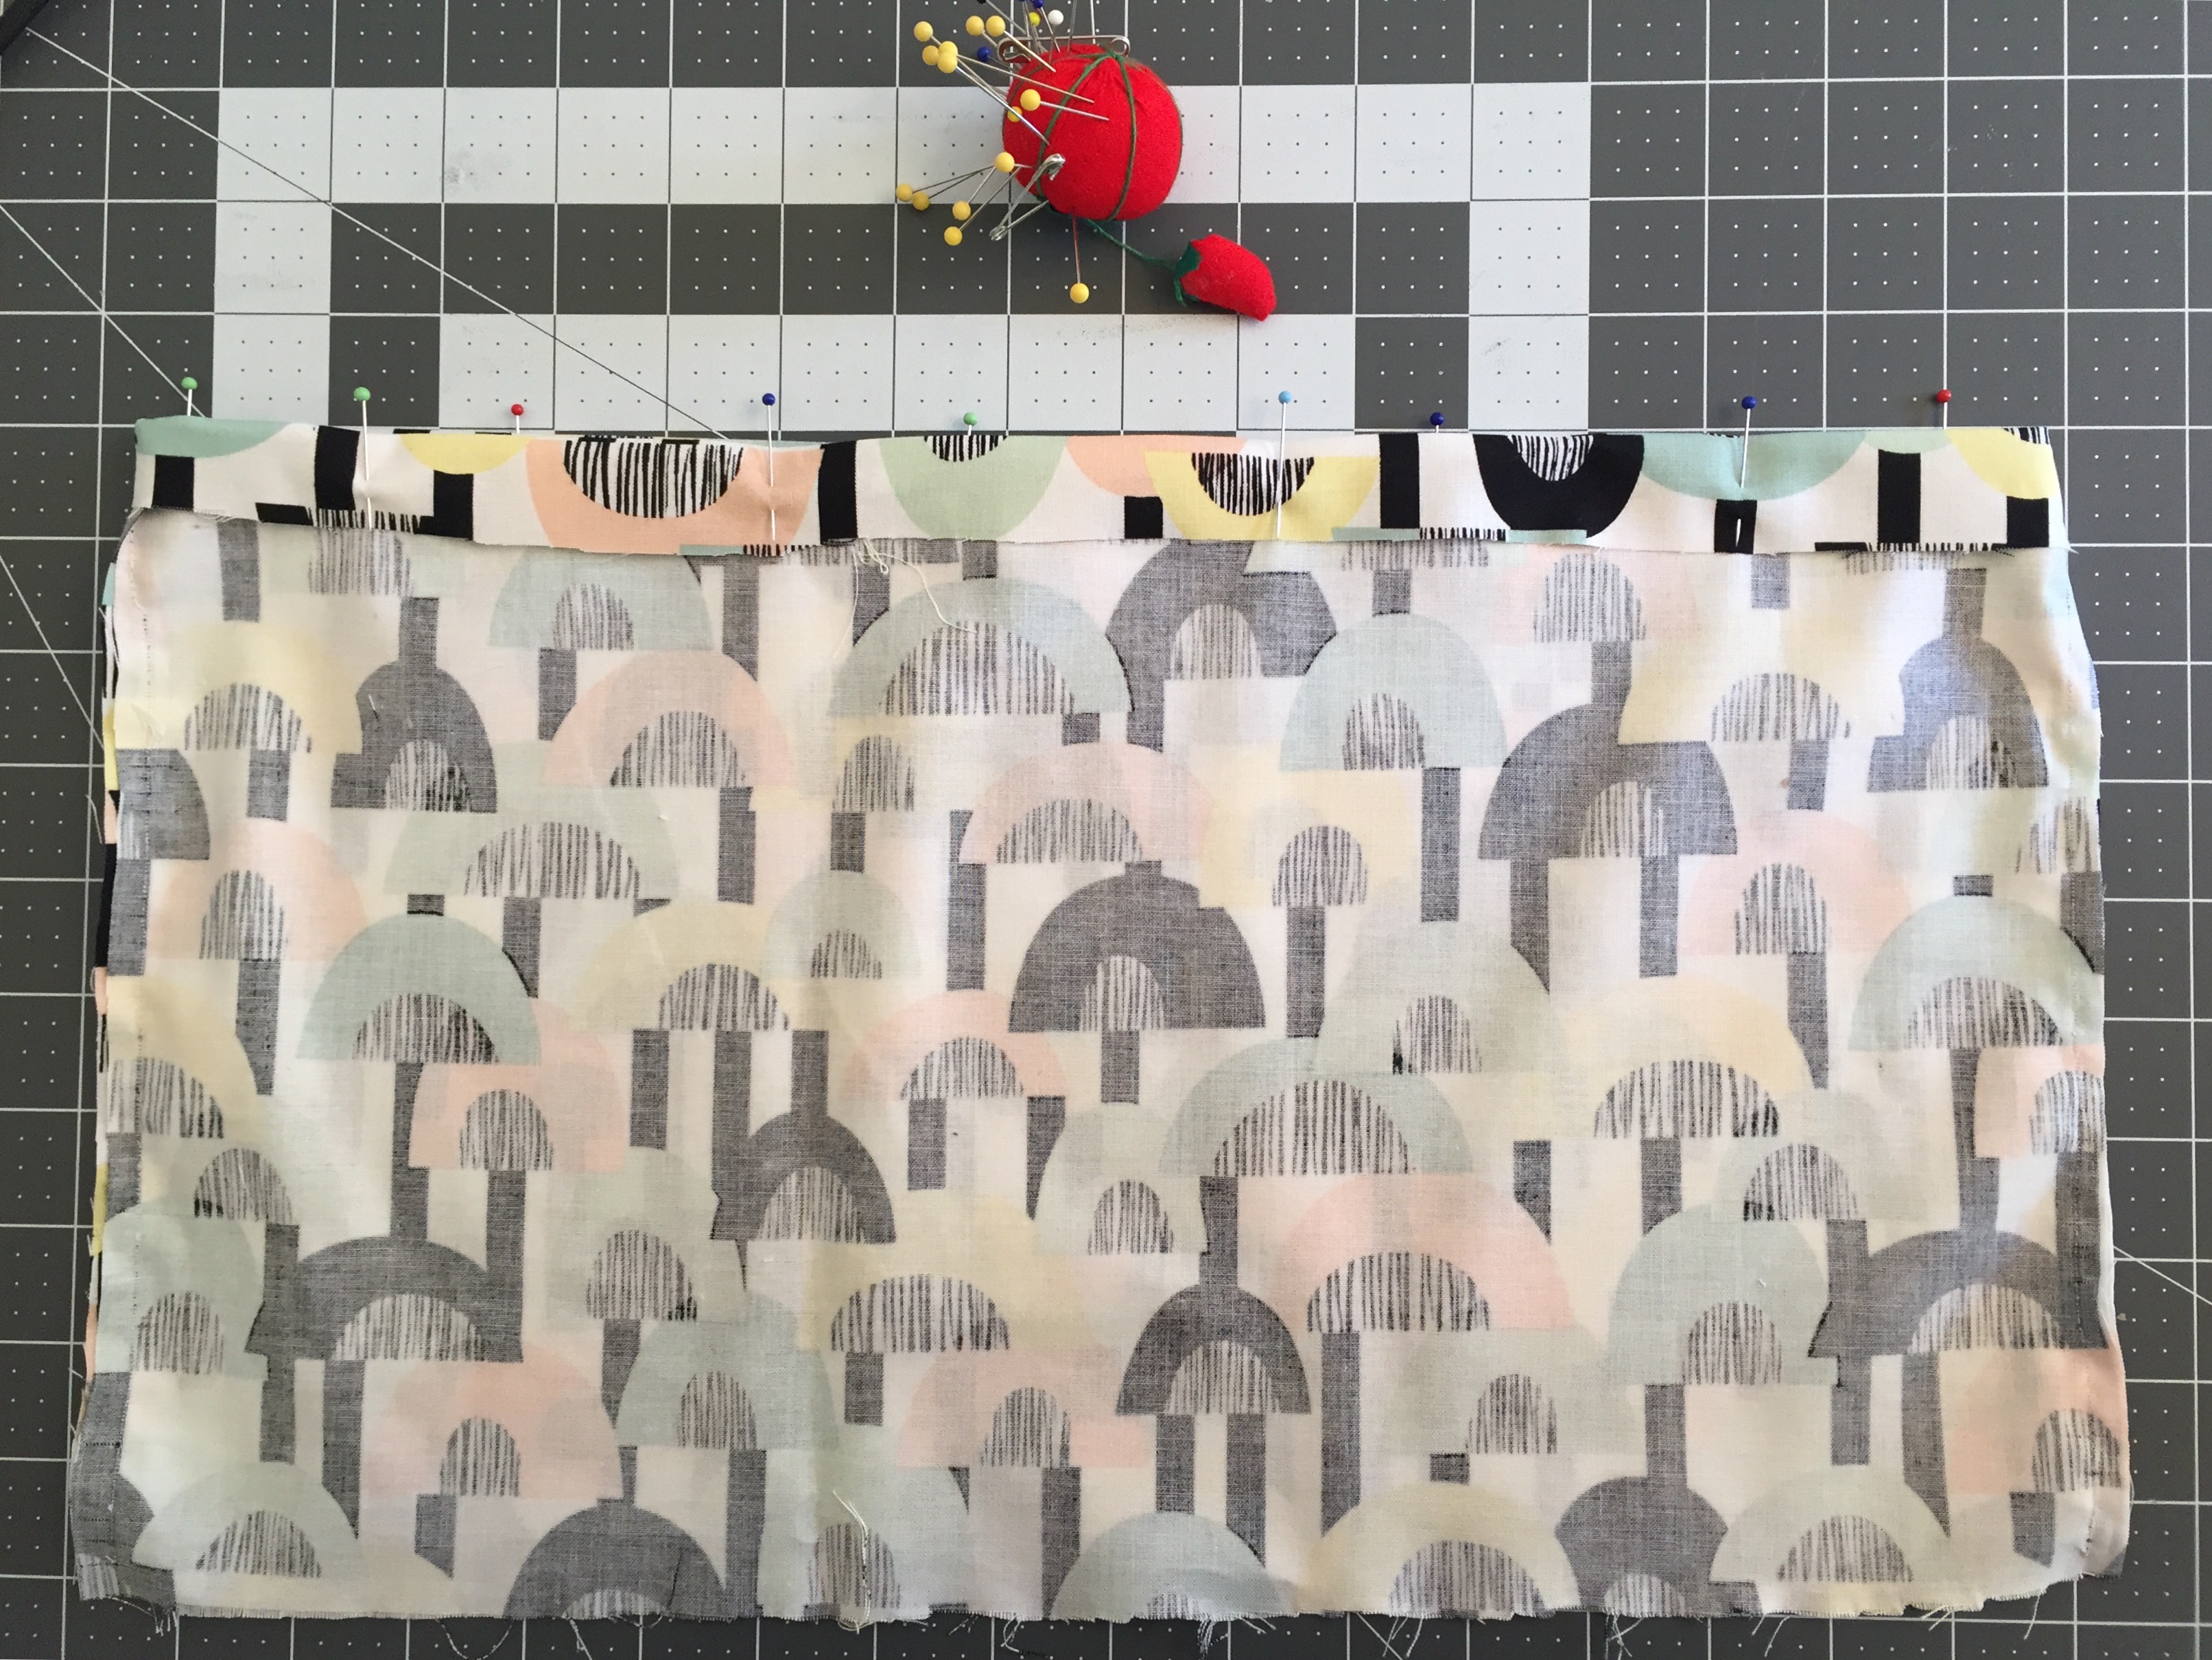
Step 5: For the top of your fabric (where the waist will be), fold over 1 1/2 inches of fabric – or enough to fit your elastic after it’s sewn. Iron the fold to help keep it in place and pin, leaving a 2-inch opening where you will not sew for now.

Step 6: Sew the waist (except for that 2-inch opening)

Step 7: Add a safety pin to the end of your piece of elastic and close, using that end of the elastic to feed it through the 2-inch opening of your waist. Once elastic has been fed all the way through, overlap the elastic by 1/2 an inch, pin to hold and sew the elastic ends together. Note: I like to sew two seams through the elastic for extra reinforcement
Step 8: Sew the remaining 2 inches of the waist closed
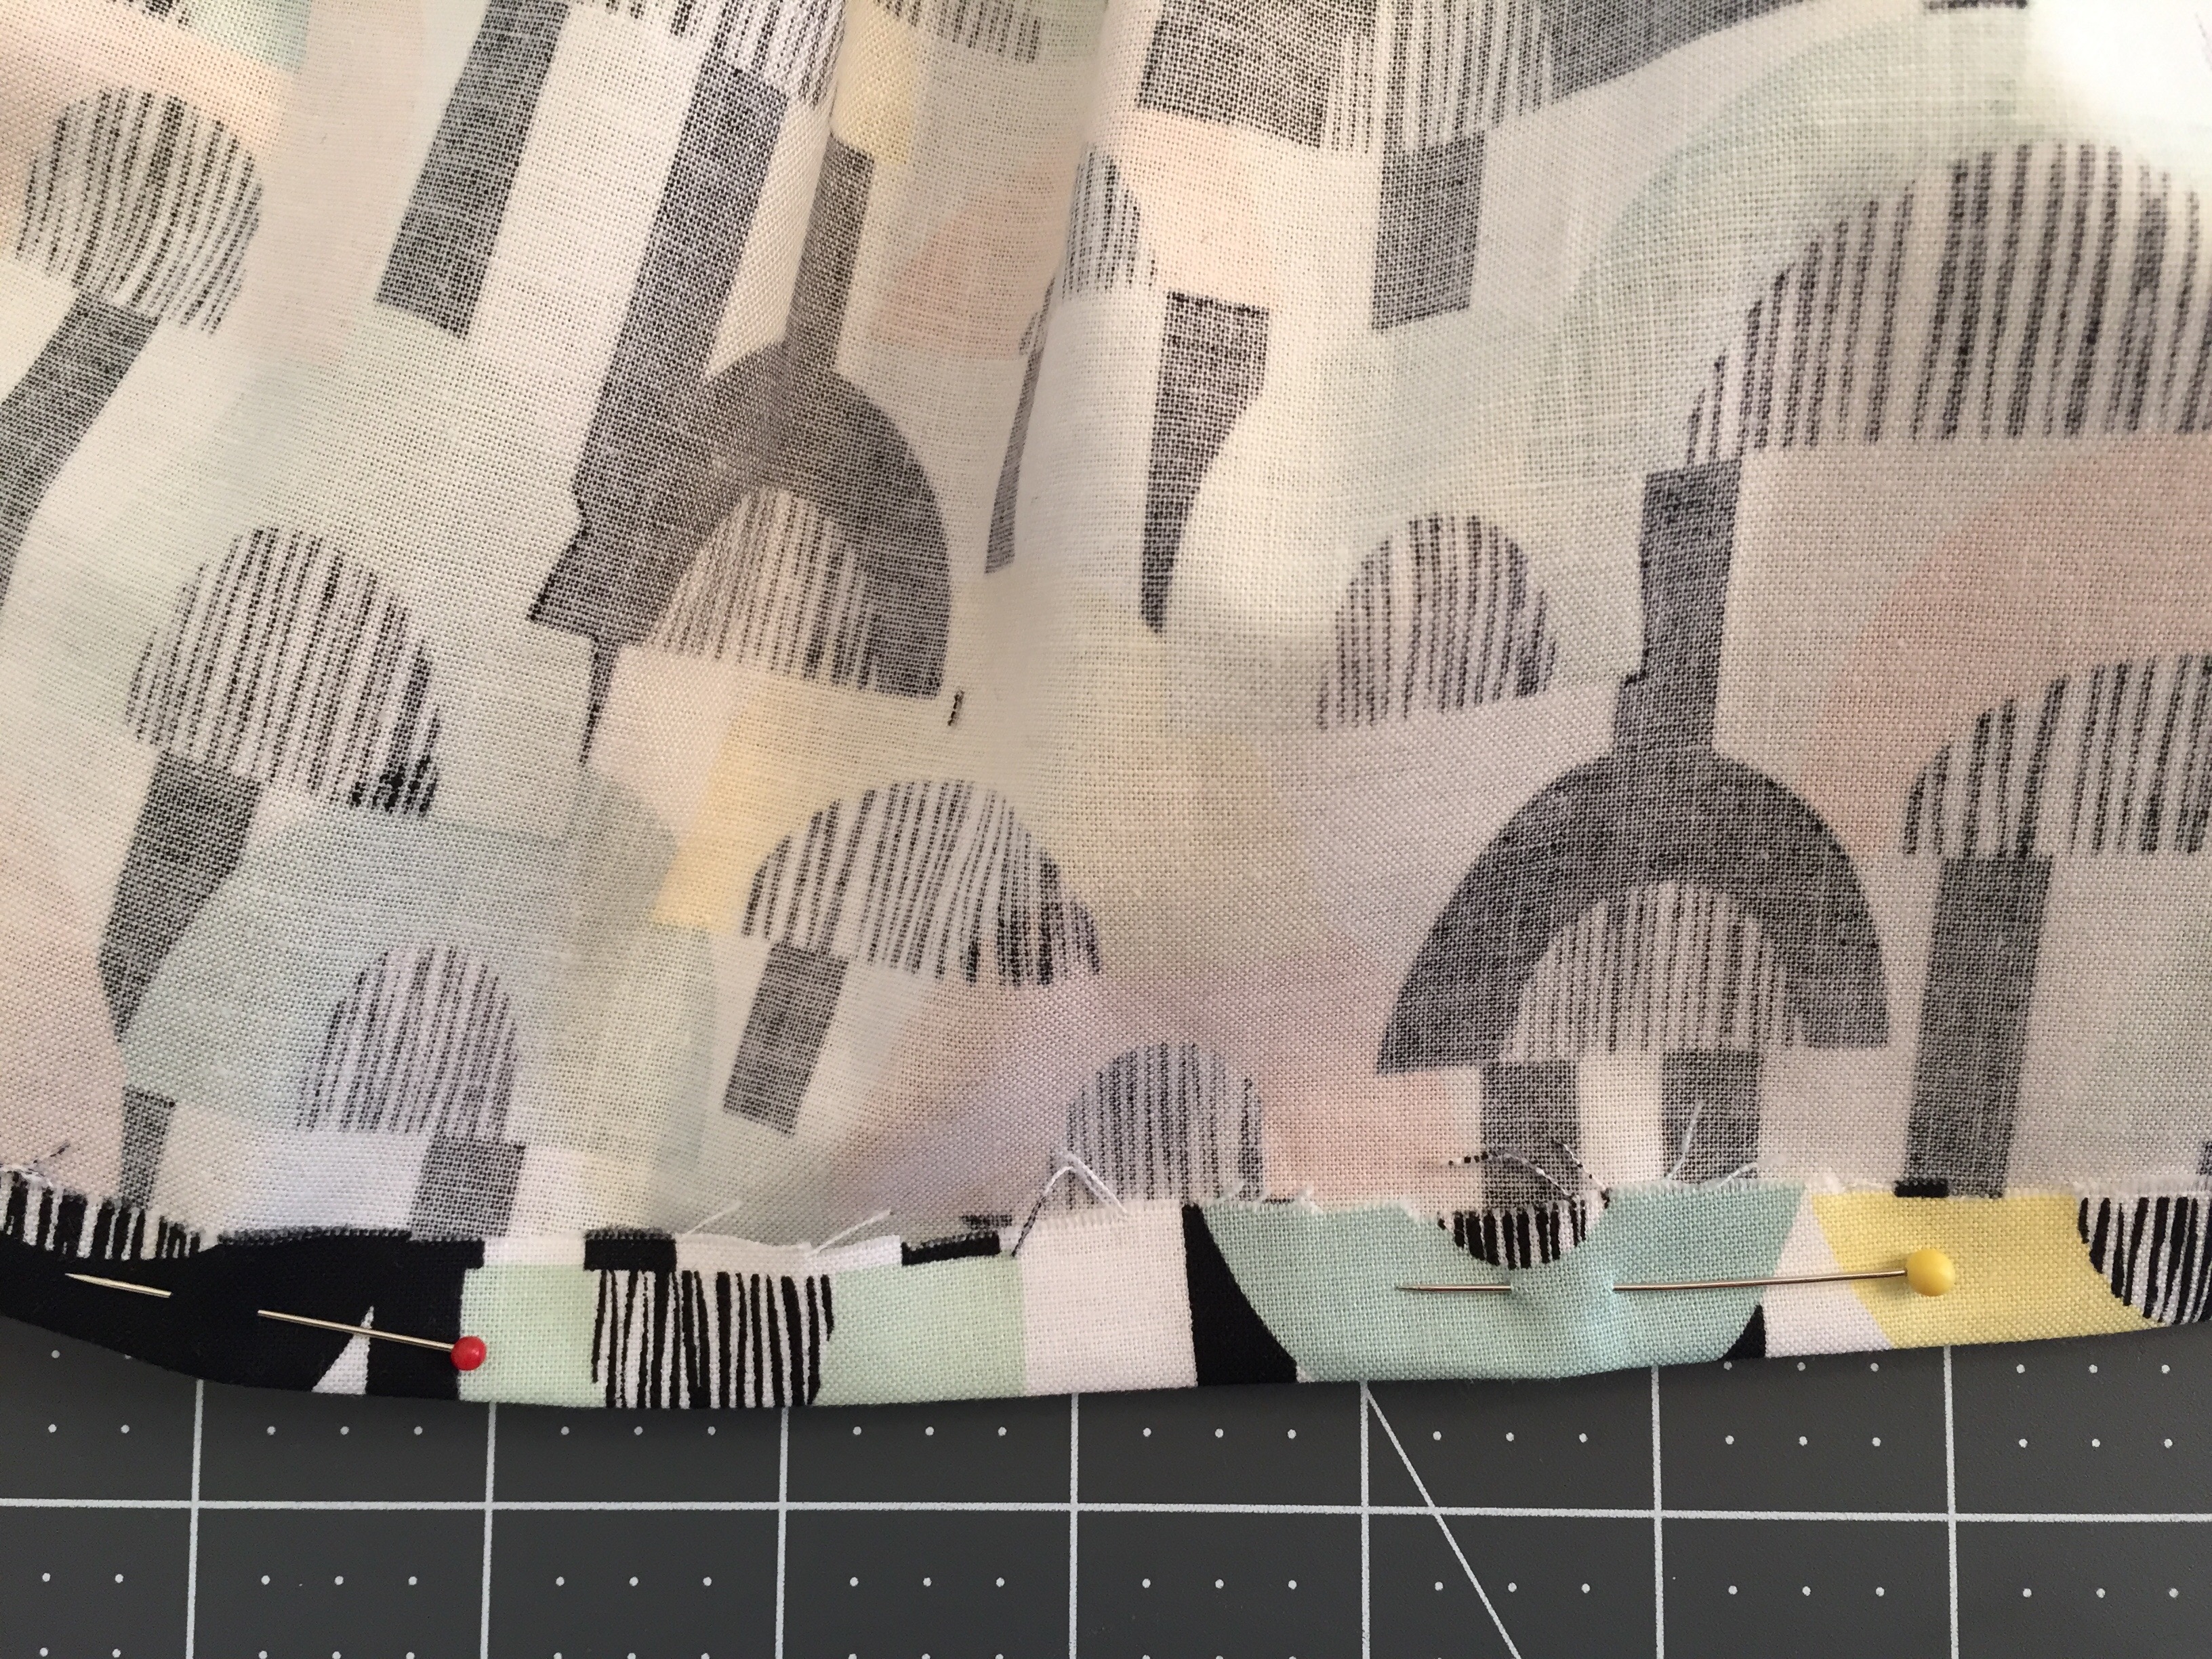
Step 9: At the bottom of your skirt, fold over a 1/2 inch of fabric all the way around it, iron flat and pin to hold into place. Note: Before you sew the hem, look to see if your skirt seems lopsided. If the side seams are off (pushed around front or back), adjust the scrunched up waist until they sit where they should
Step 10: Sew hem

Step 11: Flip right sides out – skirt should be finished!
What I figured out:
– The iron (ugh!) is your friend. Makes pinning easier, hems easier, and you’re less likely to sew unwanted, unofficial pleats in your projects
– I am the worst pinner. I draw more blood than necessary
– The fabric you choose can greatly vary the look of the skirt and how easy or hard it is to sew the skirt
– When tutorials tell you to use a safety pin at the end of your elastic to feed it through your waistline, DO IT. It makes all the difference. (See: less sweating and cussing)
– Don’t get discouraged if your first skirt doesn’t quite look like you wanted it to. I usually use fabric I don’t love the first time I try something. The second time I attempt it, I have a better understanding of what I’m doing and it turns out better
Bottom line:
Completing these skirts made me feel like I’d actually accomplished something on my bucket list. They’re definitely easy enough for a beginner and darling enough that you’ll want to make them for your friends’ babies too.